Marketing October 23, 2018

Stay Safe While Selling Your Home With Our Seller’s Checklist

Staying organized while uprooting your life and moving from one home to another can feel impossible. Not only are you trying to get the best financial return on your investment, but you might also be working on a tight deadline. There’s also the pressure to keep your home clean and organized at all times for prospective buyers.  One thing you can be sure of when selling your home is that there will be strangers entering your space, so it’s important for you and your agent to take certain safety precautions. Like so many things in life, they can feel more manageable once written down, so we made this handy checklist.


  • Go through your medicine cabinets and remove all prescription medications.
  • Remove or lock up precious belongings and personal information. You will want to store your jewelry, family heirlooms, and personal/financial information in a secure location to keep them from getting misplaced or stolen.
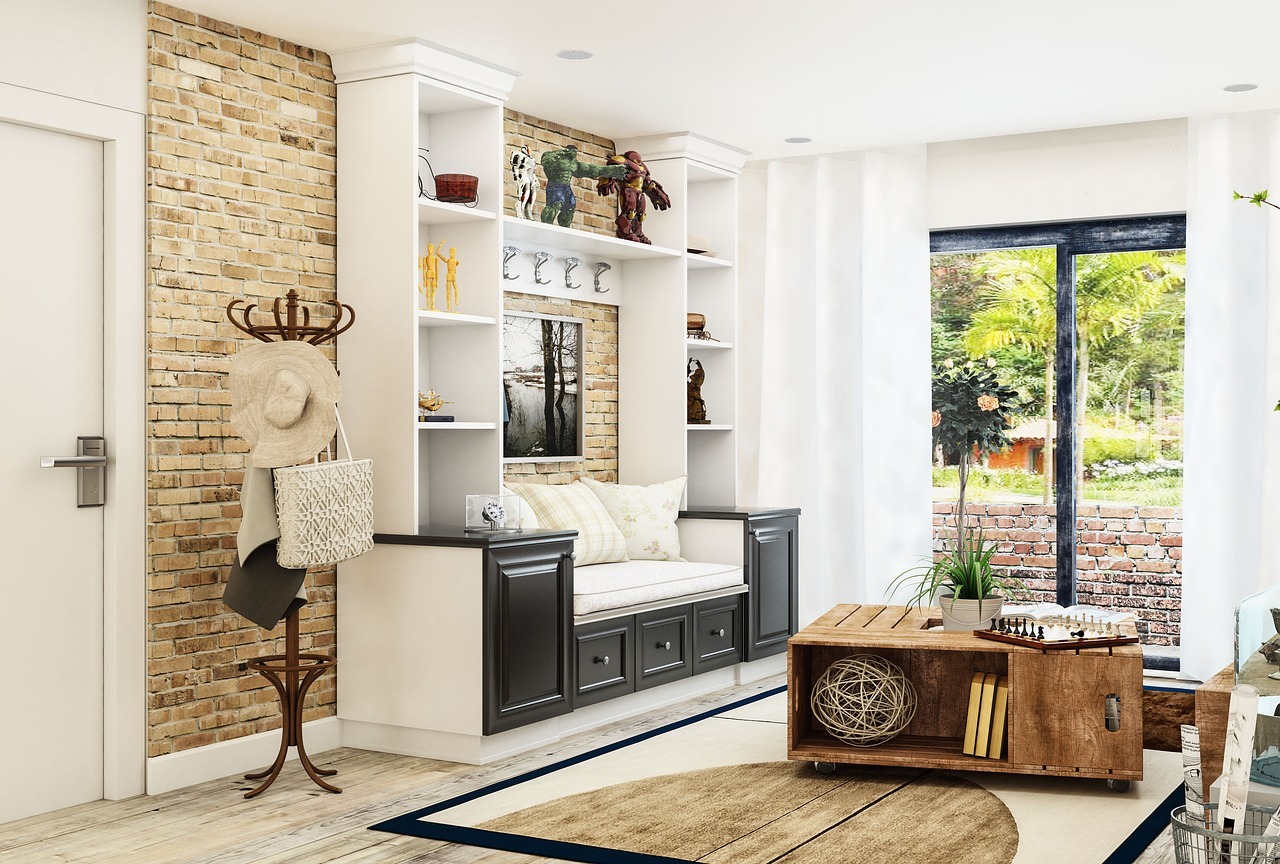
  • Remove family photos. We recommend removing your family photos during the staging process so potential buyers can see themselves living in the home. It’s also a good way to protect your privacy.
  • Check your windows and doors for secure closings before and after showings. If someone is looking to get back into your home following a showing or an open house, they will look for weak locks or they might unlock a window or door.
  • Consider extra security measures such as an alarm system or other monitoring tools like cameras.
  • Don’t show your own home! If someone you don’t know walks up to your home asking for a showing, don’t let them in. You want to have an agent present to show your home at all times. Agents should have screening precautions to keep you and them safe from potential danger.

Talk to your agent about the following safety precautions: 

  • Do a walk-through with your agent to make sure you have identified everything that needs to be removed or secured, such as medications, belongings, and photos.
  • Go over your agent’s screening process:
    • Phone screening prior to showing the home
    • Process for identifying and qualifying buyers for showings
    • Their personal safety during showings and open houses
  • Lock boxes to secure your keys for showings should be up to date. Electronic lockboxes actually track who has had access to your home.
  • Work with your agent on an open house checklist:
    • Do they collect contact information of everyone entering the home?
    • Do they work with a partner to ensure their personal safety?
  • Go through your home’s entrances and exits and share important household information so your agent can advise how to secure your property while it’s on the market.
Marketing October 16, 2018

How Reliable Are Home Valuation Tools?

What’s your home worth?

It seems like a simple question, but finding that answer is more complicated than it might seem. Sites like Zillow, Redfin, Eppraisal, and others have built-in home valuation tools that make it seem easy, but how accurate are they? And which one do you believe if you get three different answers? Online valuation tools have become a key part of the home buying and selling process, but they’ve been proven to be highly unreliable in certain instances. One thing that is for certain is that these valuation tools have reinforced that real estate agents are as vital to the process of pricing a home as they ever were – and maybe even more so now.

There are limitations to every online valuation tool. Most are readily acknowledged by their providers, such as Zillow’s “Zestimate”, which clearly states that it offers a median error rate of 4.5%, with varying accuracy across the country. That may not sound like a lot, but keep in mind that amounts to a difference of about $31,500 for a $700,000 home. For Redfin and Trulia, there are similar ranges in results. When you dig deeper into these valuation tools, it’s no small wonder that there are discrepancies, as they rely on a range of different sources for information, some more reliable than others.

Redfin’s tool pulls information directly from multiple listing services(MLSs) all over the country. Others negotiate limited data sharing deals with those same services, but also rely on public records, as well as homeowners’ records. This can lead to gaps in coverage. These tools can serve as helpful pieces of the puzzle when buying or selling a home, but the acknowledged error rate is a reminder of the dangers of relying too heavily on them.

Home valuation tools can be a useful starting point in the real estate process, but nothing compares to the level of detail and knowledge a professional real estate agent offers when pricing a home. An algorithm can’t possibly know about a home’s unique characteristics or those of the surrounding neighborhood. They also can’t answer your questions about what improvements you can make to get top dollar or how buyer behaviors are shaping the market. All of this – and more – can only be delivered by a trusted professional whose number one priority is getting you the best price in a time frame that meets your needs.

If you’re curious what your home might be worth, Windermere offers a tool that provides a series of evaluations about your property and the surrounding market. And once you’re ready, we’re happy to connect you with a Windermere agent who can clarify this information and perform a Comparative Market Analysis to get an even more accurate estimate of what your home could sell for in today’s market.

Marketing October 9, 2018

Choosing the Right Backsplash for Your Kitchen

Every chef’s kitchen should have a style that matches the delicious food that comes out of it. But even if you’re doing little more than making mac and cheese out of a box, your kitchen still can be a place of color and creativity. Kitchen backsplashes are nothing new, but they’ve seen a recent surge in popularity. We’re fortunate to see homes every day with creative takes on this tiling trend, so we decided to showcase some popular backsplash designs to serve as inspiration.


Glass Tile

Image Rights – Better Homes & Gardens

  • When designing a kitchen, function and flair should work hand in hand. The appeal of glass tiling is that it’s easy to clean.
  • Backing up the functionality is affordability. While glass tiling runs more expensive than ceramic, the cost is typically below stainless steel, and even some stones.
  • Glass tiling is perfect for those with an artistic flair. Whether it’s simply a splash of color, a full mosaic, or even an intricate design, glass tile lets your inner artist shine.
  • While the initial cost may be greater, glass tiling can more easily be found in pre-set sheets, making DIY installation far easier than many other types of tiles.


Ceramic Tile

Image Rights – Kitchen-Design-Ideas.org

  • If you need a backsplash that can hold up to consistent use, ceramic tile is a great fit.
  • The most cost-effective tile to professionally install, ceramic tiling offers a glazed shine with a variety of color options.
  • Creating a clear, simple, ceramic backsplash is a great way to add a colorful flair to your kitchen.
  • Between the cost-effectiveness and its low-maintenance nature, ceramic is unsurprisingly the most common type of kitchen tiling.


Metallic Tile 

Image Rights – Architecture Art Designs

  • Stainless steel is one of the more popular backsplash options for those interested in a metallic finish, but we’re also seeing more aluminum, copper, and bronze tiles.
  • The range in metal type obviously impacts the cost, but most metal tiles are much more expensive than their ceramic counterparts – at least $10 per square foot more.
  • For that extra cost, however, you’ll receive a sturdy backsplash with a modern sheen that is easy to clean.
  • With stainless steel in particular, consistent maintenance is necessary to avoid a dulling of the backsplash’s shine.


Stone Slab

Image Rights – Houzz.com

  • Sturdy? Check. Waterproof? Check. Classy? Check. From soapstone to marble to granite to good old-fashioned brick, there is no more low-maintenance backsplash base than stone.
  • For the pleasure of acquiring a stone backsplash, you’ll typically pay more than most other materials. Between installation and material cost, the up-front payment can approach $1,000 for less than 30 square feet of wall space.
  • With a wide range of stone to choose from, a number of color options are available at varying costs.
  • If that upfront payment is manageable, the results will blend both aesthetics and function, and stone’s resiliency makes any follow-up costs minimal.

For an expert DIY challenge, there are many other ways to create a satisfying backsplash that fits your fancy, including vinyl wallpaper, wood, and even beadboard. What’s your dream backsplash style?

Marketing October 2, 2018

5 Dangers of Overpricing a Home

It is still a great time to be a seller, but in much of the Western U.S., the local real estate market has begun to soften. With significant increases in inventory, buyers now have more choices and less sense of urgency. If you are thinking about selling your home, pricing it correctly the first time is critical. Here’s why:

  1. If you overprice your home, it won’t show up in some search results.

    Buyers search for homes using the parameters they desire. Price range is one of the most critical. If you set an unrealistic price of $850,000 for your home, all the buyers searching for homes up to $825,000 will fail to see your property in their search results.

  2. An overpriced home attracts the wrong buyer.

    An overpriced home will not compare favorably with the realistically-valued homes in a buyer’s price bracket. If your home is missing the amenities, square footage or other features of homes within the price range you’ve placed it in it won’t sell.

  3. Overpriced homes linger on the market and risk becoming “stale”.

    The interest in a home is always highest when the listing first hits the market. When an overpriced home goes unsold for a long period of time buyers often wonder what is wrong with the property. When a buyer moves on from a listing they rarely come back, even if you drop the price.

  4. You run the risk of getting less for your home than if you priced it correctly the first time.

    A Zillow study showed that homes that linger on the market tend to sell for significantly less than their listing price. When a home sits on the market for an extended period of time, buyers feel they have lots of room to negotiate.

  5. The longer your home remains on the market, the more expenses you incur.

    Every month your home goes unsold you put out money for mortgage payments, utilities and other home expenses that you will never recover.

Marketing September 25, 2018

Avoiding the Pitfalls of Home Addition Construction

When dissatisfaction with your current home strikes, it can be exciting to launch into a plan for a new addition. A new living room, bedroom, or more can add value to your home while improving your quality of life.

On the other hand, even a modest addition can turn into a major construction project, with architects and contractors to manage, construction workers traipsing through your home, hammers pounding, and sawdust everywhere. And although new additions can be a very good investment, the cost-per-square-foot is typically more than building a new home, and much more than buying a larger existing home.


Define your needs

To determine if an addition makes sense for your particular situation, start by defining exactly what it is you want and need. By focusing on core needs, you won’t get carried away with a wish list that can push the project out of reach financially.

If it’s a matter of needing more space, be specific. For example, instead of just jotting down “more kitchen space,” figure out just how much more space is going to make the difference, e.g., “150 square feet of floor space and six additional feet of counter space.”

If the addition will be for aging parents, consult with their doctors or an age-in-place expert to define exactly what they’ll require for living conditions, both now and over the next five to ten years.


Types of additions

Bump-out addition—“Bumping out” one or more walls to make a first-floor room slightly larger is something most homeowners think about at one time or another. However, when you consider the work required, and the limited amount of space created, it often figures to be one of your most expensive approaches.

First-floor addition—Adding a whole new room (or rooms) to the first floor of your home is one of the most common ways to add a family room, apartment or sunroom. But this approach can also take away yard space.

Dormer addition—For homes with steep rooflines, adding an upper floor dormer may be all that’s needed to transform an awkward space with limited headroom. The cost is affordable and, when done well, a dormer can also improve the curb-appeal of your house.

Second-story addition—For homes without an upper floor, adding a second story can double the size of the house without reducing surrounding yard space.


Garage addition—Building above the garage is ideal for a space that requires more privacy, such as a rentable apartment, a teen’s bedroom, guest bedroom, guest quarters, or a family bonus room.


Permits required

You’ll need a building permit to construct an addition—which will require professional blueprints. Your local building department will not only want to make sure that the addition adheres to the latest building codes, but also ensure it isn’t too tall for the neighborhood or positioned too close to the property line. Some building departments will also want to ask your neighbors for their input before giving you the go-ahead.


Requirements for a legal apartment

While the idea of having a renter that provides an additional stream of revenue may be enticing, the realities of building and renting a legal add-on apartment can be sobering. Among the things you’ll need to consider:

  • Special permitting—Some communities don’t like the idea of “mother-in-law” units and therefore have regulations against it or zone-approval requirements.
  • Separate utilities—In many cities, you can’t charge a tenant for heat, electricity, and water unless utilities are separated from the rest of the house (and separately controlled by the tenant).
  • ADU Requirements—When building an “accessory dwelling unit” (the formal name for a second dwelling located on a property where a primary residence already exists), building codes often contain special requirements regarding emergency exists, windows, ceiling height, off-street parking spaces, the location of main entrances, the number of bedrooms, and more.

In addition, renters have special rights while landlords have added responsibilities. You’ll need to learn those rights and responsibilities and be prepared to adhere to them.


Average costs

The cost to construct an addition depends on a wide variety of factors, such as the quality of materials used, the laborers doing the work, the type of addition and its size, the age of your house and its current condition. For ballpark purposes, however, you can figure on spending about $200 per square foot if your home is located in a more expensive real estate area or about $100 per foot in a lower-priced market.

You might be wondering how much of that money your efforts might return if you were to sell the home a couple years later? The answer to that question depends on the aforementioned details, but the average “recoup” rate for a family room addition is typically more than 80 percent.


The bottom line

While you should certainly research the existing-home marketplace before hiring an architect to map out the plans, building an addition onto your current home can be a great way to expand your living quarters, customize your home, and remain in the same neighborhood.

Marketing September 18, 2018

Outfitting Your Home to Survive the Threat of Wildfires

Much of the Western United States is grappling with the same issue this summer – the specter of smoke and fire from some of the largest forest fires in recent memory. For individuals, even the decreased air quality can be a threat, while the destruction that the fires themselves can wreak is devastating. Homeowners living near impacted areas are often left with an impossible choice – pack up what they can and evacuate or remain in a dangerous location and hope for the best. Thankfully, homes needn’t be defenseless against the heat. To help fortify your home against damage stemming from fires, we brought together advice from a few experts.


Opt for Flame-Resistant Walls and Roofing

  • It may be obvious but building a home out of non-flammable materials like brick, stucco, metal, or concrete is a key way to prevent a fire from taking hold initially.
  • The troublesome spaces tend to be beyond the core of the home. Decks, balconies, and overhangs all commonly include wooden components that can be easy points of egress for embers.
  • Replacing or coating these accent points with fireproof materials is a short-term expense that, much like insurance, prevents far greater financial strains in the future.


No Space is Too Small to Protect

  • Think that little vent in the attic is too small to be an issue? Think again!
  • Even vents built into kitchens and dryers should be considered as potential problem areas. Protecting these can allow continued circulation of air without incurring an excess fire risk.
  • Wire screens with 1/8th” to 1/4th” between screen bars are typically enough to keep treacherous embers from sneaking into your home.


Fortify Your Windows

  • The most vulnerable spots in most homes are glassy exterior windows. While their views are understandably gorgeous, they can be easy pressure points for fires to overpower.
  • If you have the means to replace single-plane glass with wire glass or fireproof safety glass, that’s a worthwhile expense to ensure neither flames themselves nor radiant heat can shatter into your home.
  • Beyond simply upgrading the glass, installing retractable fireproof exterior panels is the safest route to fire protection. And don’t forget your skylights!
Marketing September 11, 2018

Building Character – Balancing a Home’s Personality and Amenities

It’s sometimes said that the limitations of a house are what help make it a home. For many, however, it is a point of pride to accept only the finest in their new residence. How can you find the balance between cultivating a lived-in home with personality and quirks versus a house with cutting-edge amenities that improve quality of life? To get to the bottom of that, we gathered a list six keys to consider when selecting and developing the home of your dreams:

The neighborhood

Surprisingly, one of the biggest factors in choosing a new home isn’t the property itself, but rather the surrounding neighborhood. While new homes occasionally spring up in established communities, most are built in new developments. The settings are quite different, each with their own unique benefits.

Older neighborhoods often feature tree-lined streets; larger property lots; a wide array of architectural styles; easy walking access to mass transportation, restaurants and local shops; and more established relationships among neighbors.

New developments are better known for wider streets and quiet cul-de-sacs; controlled development; fewer aboveground utilities; more parks; and often newer public facilities (schools, libraries, pools, etc.). There are typically more children in newer communities, as well.

Consider your daily work commute, too. While not always true, older neighborhoods tend to be closer to major employment centers, mass transportation and multiple car routes (neighborhood arterials, highways and freeways).

Design and layout

If you like VictorianCraftsman or Cape Cod style homes, it used to be that you would have to buy an older home from the appropriate era. But with new-home builders now offering modern takes on those classic designs, that’s no longer the case. There are even modern log homes available.

Have you given much thought to your floor plans? If you have your heart set on a family room, an entertainment kitchen, a home office and walk-in closets, you’ll likely want to buy a newer home—or plan to do some heavy remodeling of an older home. Unless they’ve already been remodeled, most older homes feature more basic layouts.

If you have a specific home-décor style in mind, you’ll want to take that into consideration, as well. Professional designers say it’s best if the style and era of your furnishings match the style and era of your house. But if you are willing to adapt, then the options are wide open.

Materials and craftsmanship

Homes built before material and labor costs spiked in the late 1950s have a reputation for higher-grade lumber and old-world craftsmanship (hardwood floors, old-growth timber supports, ornate siding, artistic molding, etc.).

However, newer homes have the benefit of modern materials and more advanced building codes (copper or polyurethane plumbing, better insulation, double-pane windows, modern electrical wiring, earthquake/ windstorm supports, etc.).

Current condition

The condition of a home for sale is always a top consideration for any buyer. However, age is a factor here, as well. For example, if the exterior of a newer home needs repainting, it’s a relatively easy task to determine the cost.  But if it’s a home built before the 1970s, you have to also consider the fact that the underlying paint is most likely lead0based, and that the wood siding may have rot or other structural issues that need to be addressed before it can be recoated.

On the flip side, the mechanicals in older homes (lights, heating systems, sump pump, etc.) tend to be better built and last longer.

Outdoor space

One of the great things about older homes is that they usually come with mature trees and bushes already in place. Buyers of new homes may have to wait years for ornamental trees, fruit trees, roses, ferns, cacti and other long-term vegetation to fill in a yard, create shade, provide privacy, and develop into an inviting outdoor space. However, maybe you’re one of the many homeowners who prefer the wide-open, low-maintenance benefits of a lightly planted yard.

Car considerations

Like it or not, most of us are extremely dependent on our cars for daily transportation. And here again, you’ll find a big difference between newer and older homes. Newer homes almost always feature ample off-street parking: usually a two-car garage and a wide driveway. An older home, depending on just how old it is, may not offer a garage—and if it does, there’s often only enough space for one car. For people who don’t feel comfortable leaving their car on the street, this alone can be a determining factor.

Finalizing your decision

While the differences between older and newer homes are striking, there’s certainly no right or wrong answer. It is a matter of personal taste, and what is available in your desired area. To quickly determine which direction your taste trends, use the information above to make a list of your most desired features, then categorize those according to the type of house in which they’re most likely to be found. The results can often be telling.

Marketing September 4, 2018

Providing Scholarships and School Supplies to Students in Need

It’s that time of year again! As families prepare to send their kids back to school, Windermere agents have been out in their communities raising money to support programs that provide school supplies and scholarships to students in need.

These are a just a few examples of how Windermere agents are making a difference.

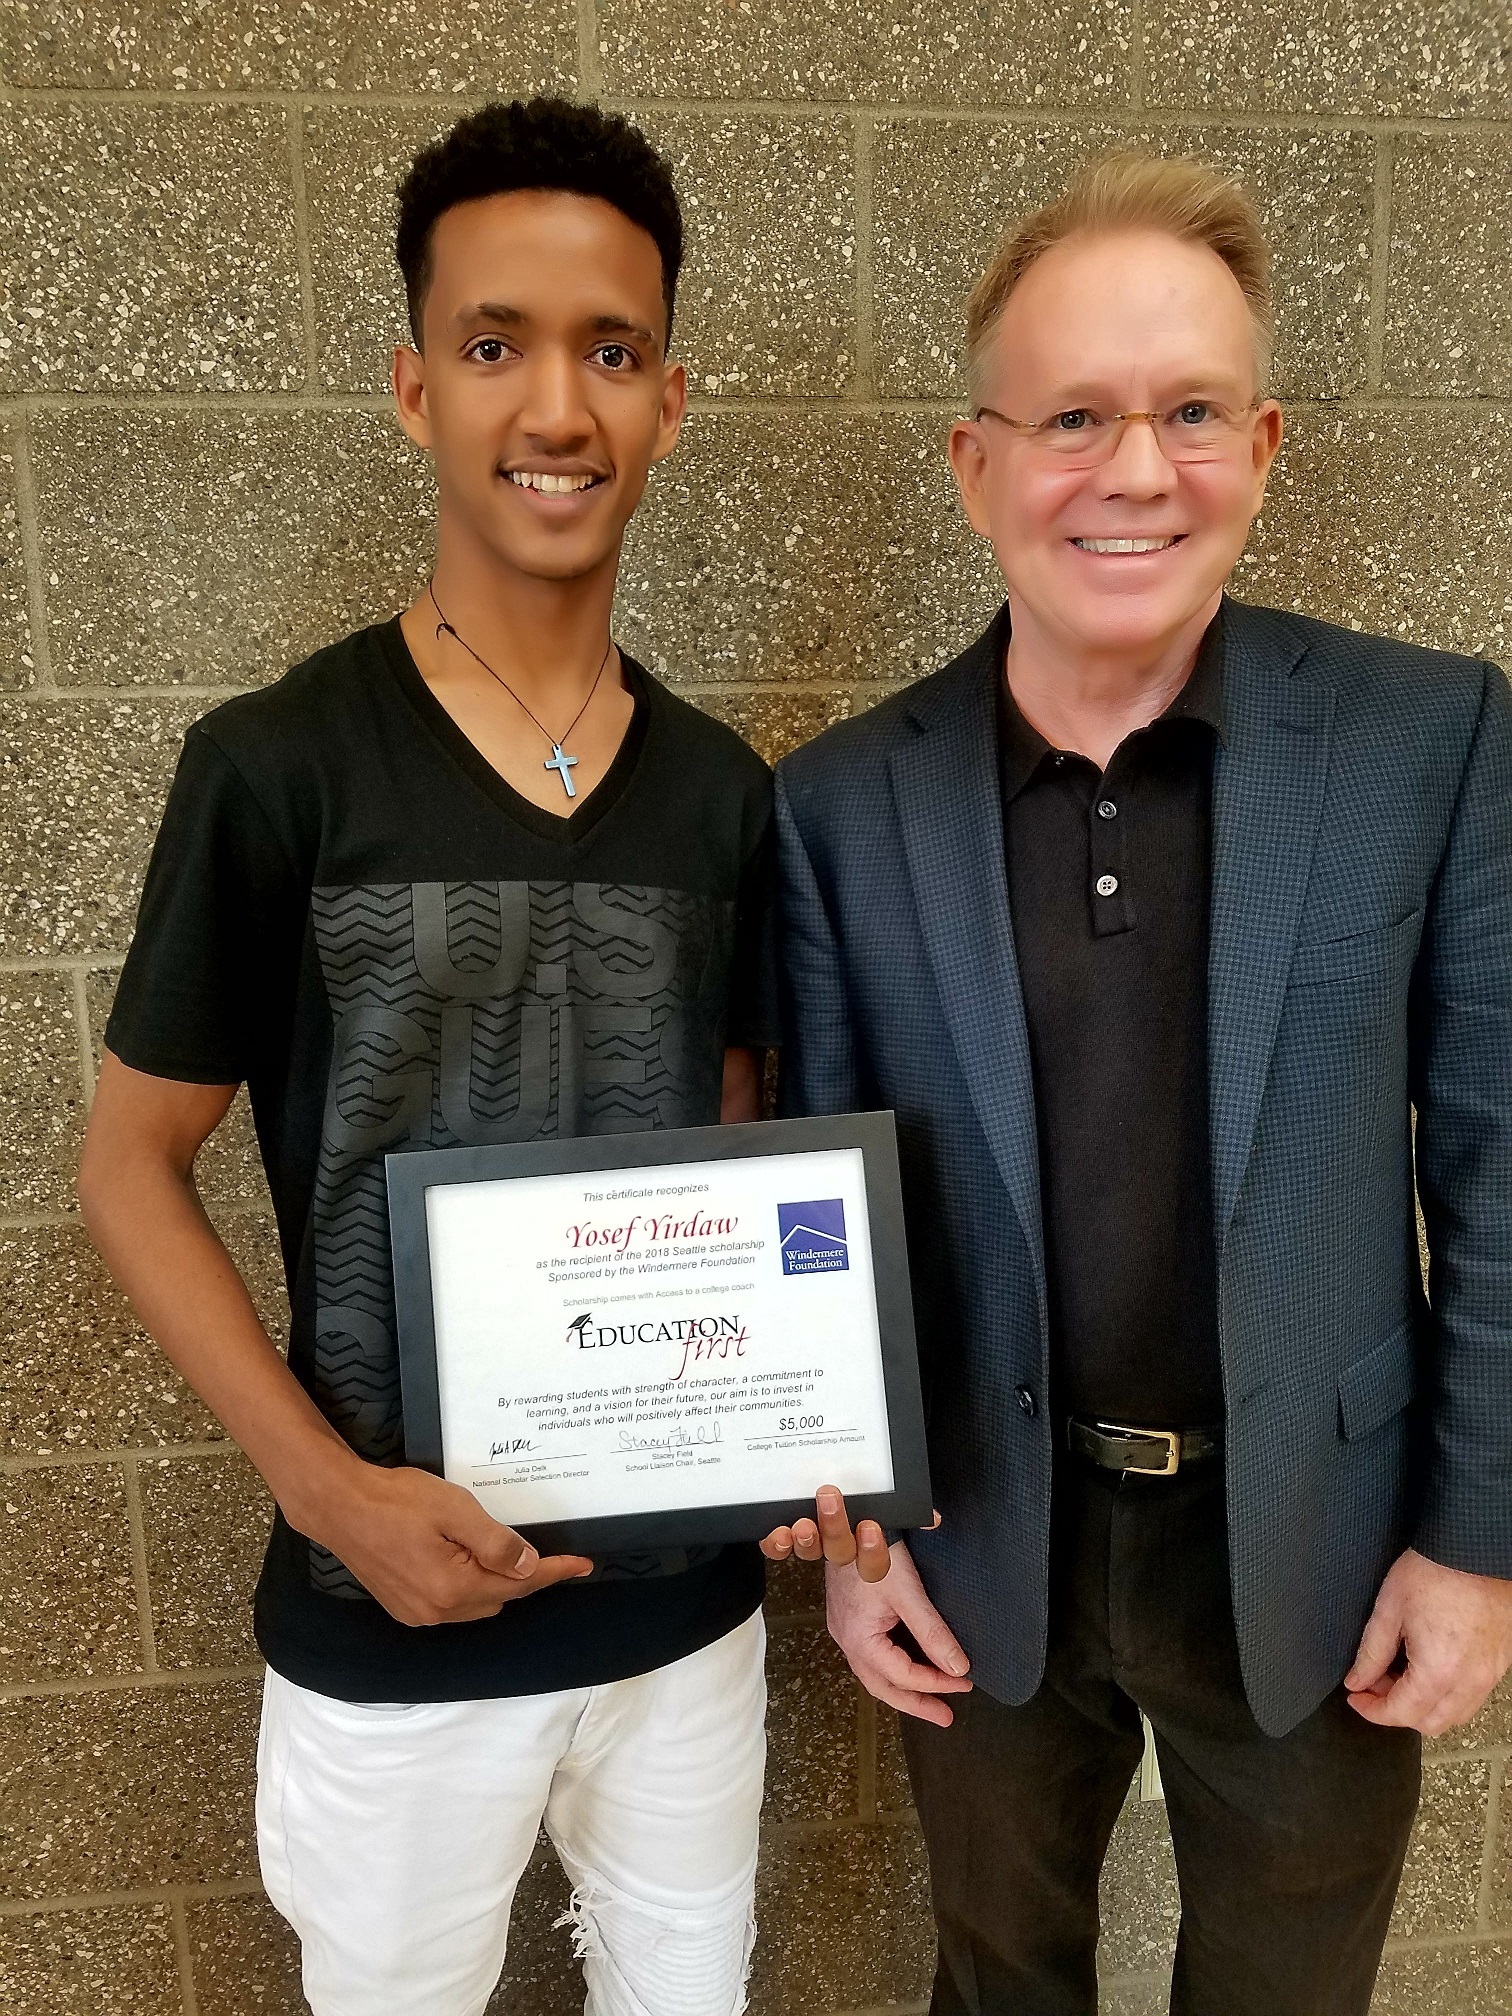
Education First Scholarship Program

Seattle, WA:  For the second year in a row, agents with the Windermere Wall Street Group offices have pooled their local Windermere Foundation funds to sponsor college scholarships for low-income youth who strive to improve their lives. Through a partnership with Education First, students receive tuition assistance along with access to college coaching services to stay on track.

The Windermere Wall Street, Magnolia, and Queen Anne offices used their funds to sponsor Yosef Yirdaw, who plans to study computer science at Eastern Washington University. Originally an orphan from Ethiopia, he shined in high school with both academics and cross country.

The Windermere office in West Seattle sponsored Brandon Olivera, a Chief Sealth High School graduate heading to the University of Washington, who is setting an example for his younger brothers to follow. During high school, Brandon spent many hours working in his father’s restaurant while making sure to help his siblings with their homework.

Both scholars will be the first in their families to attend college. The Windermere Wall Street Group offices have generously donated a total of $12,000 to Education First’s scholarship program since 2016.


Equipped 4 Success School Supply Drive

Alameda, CA:  Through the Windermere Foundation, Windermere Bay Area Properties offices donated $1,000 to the Alameda Education Foundation (AEF) to purchase new backpacks and supplies for their Equipped 4 Success School Supply Drive. Contributions to the drive provide homeless, formerly homeless, and low-income students with the materials they need to be ready to learn on the first day of school.

The mission of the Alameda Education Foundation is to engage the community, raise funds, and coordinate programs to support and enhance the quality of K-12 public education in Alameda.


Make The “Change” For Lewis County


Centralia, WA:  On August 21, the Windermere Centralia office teamed up with KELA/KMNT Radio to host the Make The “Change” For Lewis County fundraising event. A school bus was parked next to the Windermere office to collect school supplies, checks, cash or change, and KELA/KMNT Radio was on site broadcasting live from the event. Over $2,000 worth of school supplies were collected for Lewis County schoolkids in need.


High Point Healthy Families Celebration


Seattle, WA:  Approximately 830 community members attended this annual event on August 15 hosted by Neighborhood House, whose mission is to partner with diverse individuals and families to build community and achieve their goals for health, education, and self-sufficiency. With the help of a $3,000 donation from the Windermere Foundation, Neighborhood House was able to purchase enough school supplies to stuff 500 backpacks and serve 100 more school-aged youth than last year. Seattle Mayor Jenny Durkan was also on hand at the event to help distribute backpacks.


Thanks to the generous donations and support of Windermere owners, agents, staff, and the public, the Windermere Foundation has been able to raise over $36 million since 1989 to support local non-profit organizations that provide services to low-income and homeless families in our communities. If you’d like to help support programs in your community, please click on the Donate button.

To learn more about the Windermere Foundation, please visit WindermereFoundation.com.

Marketing August 28, 2018

4 Ways to Make Smart Tech Upgrades to Your Garage

When it comes to upgrading your home with the latest technology, your garage is likely to be the last thing on your radar. But as electric vehicles and even self-driving cars are hitting the road across the country, real estate listings are touting smart garages in high-tech cities like Palo Alto, California and Austin, Texas. Not to mention the simple fact that garage tech can boost security and convenience for your home, no matter what kind of car you drive. Here, we outline four of the simplest things you can do to make your garage smarter.

1. Learn about internet-connected devices you can install in your garage.

There are all kinds of benefits to installing internet-connected systems in and around your garage — from opening and closing your garage door remotely, to using cameras to monitor your garage, to checking up on your car from anywhere in the world. How’s that for convenience?

These internet-connected devices don’t have to be complicated, either. In fact, they’re designed for your ease of use. You can find smart add-ons for your existing garage door opener, or if you want to go all out (and potentially obtain additional security and other features), you can purchase a brand new, high-tech garage door system with all the bells and whistles.

2. Install motion-sensor lights and security cameras near your garage and other entryways.

Since most thieves like to do their dirty work in the dark, motion-sensor lights can be an effective deterrent to a garage break-in. And if you have security cameras installed too, the police may be able to better identify the perps — if anything ever does happen.

Plus, these easy upgrades can add major market value to your home if you’re looking to put it on the market in the future.

3. Think about the future.

You may still be driving a gas-powered car, but plug-in electric and hybrid vehicles are becoming increasingly attractive and affordable to modern car-buyers — especially as states like Texas are offering rebate programs for vehicle replacements to EVs. If you think there’s a chance that you could make the switch in the near future, it’s a good idea to get your garage ready by installing an appropriate outlet or 240-volt battery charger. Many cities and states (including Texas) also offer assistance to help drivers purchase and install a charging station at home. You could also enjoy reduced utility charges, depending on where you live.

Keep in mind that driverless cars will be a common sight in American garages too, as lawmakers are clearing the way for the new technology in Austin and Arlington. Experts have suggested that this shift will transform the real estate market, including the size and functionality of garages.

4. Make sure your homeowners’ insurance is up to snuff.

It’s pretty obvious that your garage door is one of the more exposed areas of your home —when it comes to potential intruders, but also when it comes to bad weather. If a covered incident like a windstorm, fire, break-in, or vandalism occurs, standard homeowners insurance has your back.

Just be sure to purchase enough insurance coverage to completely rebuild your home from the ground up in case catastrophe happens, since your policy will only pay out the maximum limits you choose. The last thing you want after a disaster strikes is extra bills to pay just to get your home back in working order.

Return on Investment

Going all out with brand new, high-tech garage devices is admittedly an investment up front. But when it comes to peace of mind knowing your home and your family are safe, a smart garage could be worth every dime — not to mention the fact that it could boost your resale value in an increasingly connected world.

Haden Kirkpatrick is the director of marketing strategy and innovation at Esurance, where he is responsible for initiatives related to product and service innovation. He is constantly thinking about technology changes impacting the insurance industry, and following innovation taking place in high-tech hot spots such as Palo Alto, California and Austin, Texas.

Marketing August 21, 2018

Preparing Your Garage for an Electric Car

Electric cars help lower emissions and fuel costs, improve fuel economy, and bolster energy security. And considering the volatility of gas prices—and their general skyward trajectory—electric fuel shows promise as an economic alternative.

But switching to an electric vehicle entails more than new driving habits and a conversation piece with strangers. It’s also a lifestyle update.

From setting up a charging station in the garage to maintaining optimal temperatures therein, check out these useful garage preparation tips to assure your electric vehicle battery is in tip-top shape.

Selecting a Charger: Level 1 vs. Level 2

Unfortunately, charging an electric vehicle might be a tad more involved than charging your smartphone. And unless you own a Tesla Model X, which can travel upwards of 300 miles on one charge, your electric plug-in vehicle could benefit greatly from a home station charger. That said, make sure you familiarize yourself with the two main levels of electric vehicle chargers supplied by home-based charging equipment and most public charging stations.

Level 1 Chargers

A Level 1 cord set charger delivers a standard household current of 110 or 120 volts and comes with most plug-in vehicles upon purchase. It’s outfitted with a three-pronged, household plug at one end that’s connected to a control box by a short cord. A longer 15-to-20-foot cord running from the other side of the box connects directly to the vehicle itself.

  • If time is not of the essence, a Level 1 could be the way to go. But be forewarned: What you get is, more or less, a trickle charge that affords roughly three to five miles per charging hour. For instance, the Nissan Leaf takes around 24 hours to fully charge on a standard 120-volt household outlet.
  • The upside is, Level 1 equipment doesn’t entail an elaborate setup of high-power circuit breakers or dedicated electrical lines, which are required by major appliances like stoves and refrigerators.
  • Because cord sets are portable, plug-in vehicles can be charged virtually anywhere there’s a standard outlet, provided it isn’t a household outlet that’s patched into the same circuit as other demanding appliances—in which case the excess amperage could trip a circuit breaker.

Level 2 Chargers 

If time is of the essence, consider installing a Level 2 charger, which delivers 240 volts and replenishes pure electric vehicles in about three hours—which is about seven to eight times faster than Level 1 equipment. Unlike the simplicity of Level 1 setups, though, Level 2 chargers may warrant the services of a professional due to the rigmarole of electrical codes, equipment setup, and necessary inspections.

  • Level 2 chargers cost anywhere between under $300 to over $1500, the price ultimately depending on cord length and amperage.
  • Level 2 outputs typically range between 16 to 30 amps, but professionals often recommend around 30- to 40-amp systems—an adequate overnight charge for most plug-in electric cars.

Installing a Charging Station

It’s worth mentioning that the “charger” you’re installing is technically referred to as Electric Vehicle Service Equipment (EVSE). This is the wall-mounted box with cord and plug that delivers electricity and functions as a communication and safety unit for the actual charger situated inside the vehicle itself.  The EVSE ensures the battery doesn’t overheat and shuts the charging session down if there’s a short circuit, power surge, or any other type of faulty hardware.

If you’ve opted for a Level 2 ESVE, you’ll likely need to reach out to a professional electrician to wire up equipment and determine where the ESVE should be situated in regards to where your vehicle is parked. Notwithstanding factors like outdated wiring, meters, and breaker panels, updating the garage for your electric ride should actually be pretty straightforward.

For instance, I gave my electrician the specs for a Tesla—a 14-50 NEMA charger that delivers 40 amps at 240 volts. And even though I have an older house, by setting up a dedicated circuit, my electrical panel handled the load without a hitch.

In rare instances, old wiring may need to be replaced. But by and large, the process is fairly easy and uncomplicated. What’s more, the plug itself isn’t any more difficult to install than a standard dryer outlet. For electric vehicle owners, installing a Level 2 ESVE is definitely the way to go.

Cost of Installation

The installation cost generally hinges on the work involved—such as the amount of wire that needs to be run, whether additional or replacement breaker panels are necessary, and the cost of labor in your area. This could vary between just a few hundred dollars to a couple thousand. However, you may be able to snag special rates from your utility company for installing an EVSE, so make sure you inquire.

Thank you to guest author Eric Madia.